




How to replace capacitors in an inverter?
Sep 22, 2025
Leave a message
As an inverter supplier, I often encounter customers who face issues with their inverters, and one common problem is capacitor failure. Capacitors play a crucial role in an inverter's operation, storing and releasing electrical energy to ensure stable power output. Over time, due to factors like heat, voltage fluctuations, and aging, capacitors can degrade and fail. In this blog, I'll guide you through the process of replacing capacitors in an inverter, step by step.
Understanding the Role of Capacitors in an Inverter
Before we dive into the replacement process, it's essential to understand why capacitors are so important in an inverter. Inverters are devices that convert direct current (DC) into alternating current (AC). Capacitors are used in various stages of this conversion process. They help filter out electrical noise, smooth the DC voltage before it's converted to AC, and provide a stable power supply to the inverter's internal components.
There are different types of capacitors used in inverters, such as electrolytic capacitors and film capacitors. Electrolytic capacitors are commonly used for their high capacitance values, which are necessary for storing large amounts of electrical energy. Film capacitors, on the other hand, are used for their stability and long lifespan, especially in high - frequency applications.
Tools and Materials You'll Need
- Screwdriver set: Different types of screwdrivers are required to open the inverter casing. Make sure you have both flat - head and Phillips - head screwdrivers in various sizes.
- Soldering iron and solder: You'll need these to remove the old capacitors and install the new ones. A soldering iron with adjustable temperature is recommended.
- Desoldering pump or wick: These tools are used to remove the old solder from the circuit board. A desoldering pump is a manual device that sucks the molten solder, while a desoldering wick is a copper braid that absorbs the solder.
- Multimeter: This tool is used to test the voltage and capacitance of the capacitors. It helps you ensure that the new capacitors are functioning correctly.
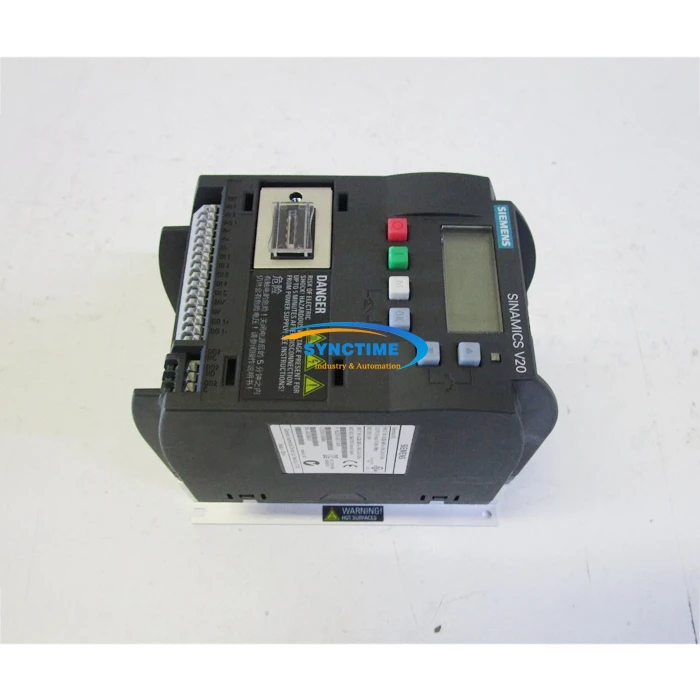
- Replacement capacitors: Make sure you choose the right capacitors for your inverter. Check the specifications of the old capacitors, including capacitance value, voltage rating, and temperature rating. You can find suitable replacement capacitors from reliable suppliers. For example, if you are working on a 6SL3210 - 5BB11 - 2AV0 Inverter, you need to refer to its manual to find the exact capacitor requirements.
Safety Precautions
- Power off: Before you start working on the inverter, make sure it is completely powered off and disconnected from the power source. This will prevent electrical shock.
- Discharge the capacitors: Capacitors can store electrical energy even after the inverter is powered off. Use a resistor to discharge the capacitors safely. This can be done by connecting a resistor across the capacitor terminals for a few seconds.
- Wear protective gear: Wear safety glasses and gloves to protect yourself from any potential hazards, such as flying solder or sharp edges.
Step - by - Step Capacitor Replacement Process
Step 1: Open the Inverter Casing
Use the appropriate screwdriver to remove the screws on the inverter casing. Carefully open the casing and set it aside. Be gentle to avoid damaging any internal components.
Step 2: Locate the Faulty Capacitors
Inspect the circuit board for any signs of capacitor failure. Common signs include bulging or leaking capacitors. You can also use a multimeter to test the capacitance of each capacitor. Compare the measured value with the rated value on the capacitor. If the measured value is significantly different, the capacitor may be faulty.
Step 3: Remove the Old Capacitors
Heat the solder joints of the old capacitor using a soldering iron. Once the solder is molten, use a desoldering pump or wick to remove the solder. Gently pull the capacitor out of the circuit board. Be careful not to damage the circuit board or other components during this process.
Step 4: Prepare the New Capacitors
Check the polarity of the new capacitors. Electrolytic capacitors have a positive and a negative terminal. Make sure you align the new capacitor correctly with the markings on the circuit board.
Step 5: Install the New Capacitors
Insert the new capacitor into the holes on the circuit board. Heat the solder joints again and apply a small amount of solder to secure the capacitor in place. Make sure the solder joints are clean and free of any solder bridges.
Step 6: Test the Inverter
After replacing the capacitors, close the inverter casing and reconnect it to the power source. Use a multimeter to test the output voltage of the inverter. Check if the inverter is functioning properly. If you notice any abnormal readings or if the inverter still doesn't work, double - check your capacitor replacement work or consult a professional.
Common Mistakes to Avoid
- Using the wrong capacitors: Always make sure you use capacitors with the correct specifications. Using capacitors with incorrect capacitance or voltage ratings can lead to inverter failure or even damage other components.
- Poor soldering: Make sure your soldering joints are clean and secure. Poor soldering can cause loose connections, which can lead to electrical problems.
- Not discharging the capacitors: Failing to discharge the capacitors can result in electrical shock. Always follow the safety procedures to discharge the capacitors before working on the inverter.
Conclusion
Replacing capacitors in an inverter is a technical task, but with the right tools, knowledge, and safety precautions, it can be done successfully. As an inverter supplier, we offer a wide range of high - quality inverters, such as the 25B - D6P0N104 Frequency AC Drive 2.2kw and 22F - D2P5N103 Inverter AC Drive 0.75kw. If you need any assistance with capacitor replacement or other inverter - related issues, or if you are interested in purchasing our inverters, please feel free to contact us for procurement and negotiation. We are committed to providing you with the best products and services.

References
- "Inverter Handbook" - A comprehensive guide on inverter technology and maintenance.
- Manufacturer's manuals of inverters, which provide detailed information on capacitor specifications and replacement procedures.
Send Inquiry